You Ask, We Answer: How Do I Start My Vegetable Garden Indoors?
Why should I start my vegetable garden indoors?
Growing seeds indoors doesn’t just come down to aesthetics, however. Some of our most-loved veggies like tomatoes and peppers actually have longer “lead times”—meaning because they’re native to warmer climates, they don’t so well in our cool Connecticut soil in spring. Planting them indoors allows them to begin growing and thriving before being transferred to the warmer soil come summer in Connecticut—and that means you’ll be able to enjoy these veggies in your summer salads!
One more reason to start your vegetable garden indoors? More veggies, and earlier picking. Indoor seeds allow your veggies to get a “head start,” and that can lead to more of them ripened and ready for picking earlier.
What will I need to start my vegetable seeds?
First, think small. While it’s exciting to think about feeding your loved ones straight from your yard, Burpee Seed Company recommends “no more than a couple dozen plants in three or four varieties. It’s not complicated or difficult once you understand the process, but it’s best to start small so you don’t get overwhelmed at first.”
Once you’ve chosen your plants, choose your seed-starting soil mix. It should be light and fluffy to allow seedlings to poke through, and designed to hold enough moisture to foster growth without holding on to too much moisture that can cause your plants to rot. Look for soil mixes specifically designed for growing seedlings.
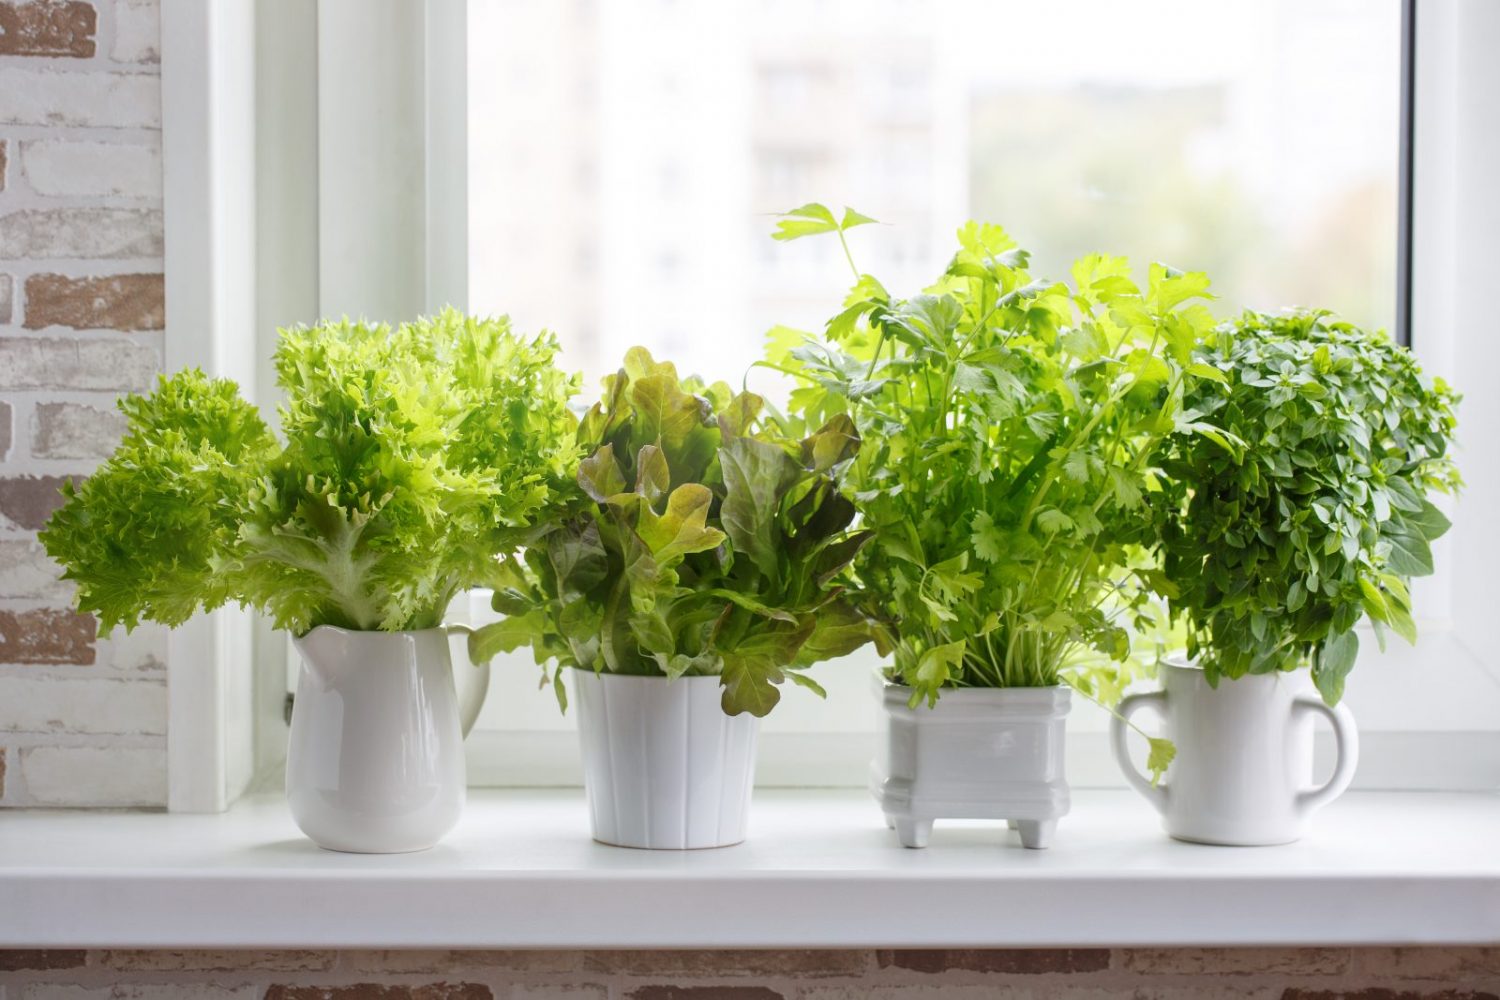
Next, choose your growing containers. If you have plastic pots with drainage holes that you’d like to reuse, those will work; a reusable seed starting kit is also a great option, as are biodegradable containers that will break down over time right in the soil.
Lastly, consider heat mats for your growing your seeds. These mats are made for helping to usher seeds into healthy plants, warming the soil gently and evenly to about 10 degrees warmer than the room temperature—perfect for germination.
Planting your vegetable seeds
Moisten your soil before planting your seeds. You’ll want to keep soil moist but not wet, which can cause rot. Plant your seeds according to the directions on the packets, then check on them daily to monitor their growth, soil moisture and adjust light as needed. If you’re growing your seeds in sunlight, rotate the containers daily so they don’t grow in one single direction. If using a grow lamp, you’ll want to monitor the height of your seedlings and adjust the light to 3-4” above the plants.
Once your seedlings start to really grow, Burpee recommends you “harden off” them off. “Introduce your plants to the sun gradually, a process called ‘hardening off’. Expose them to sunlight for one hour more each day for a week. During this time bring them to a protected location outside when they are not in the sunlight. If there will be a frost at night, bring them inside. After a week or so, they will have acclimated to the outdoors and will be ready to transplant into your garden!”
And last but not least, don’t rush planting your seedlings! Connecticut spring may mean late snow storms or frosts, so wait until the soil is warming up for the best growing conditions before transplanting your seedlings into your garden.
Happy growing!